Model #
Select a Character Model to assign to your Avatar.
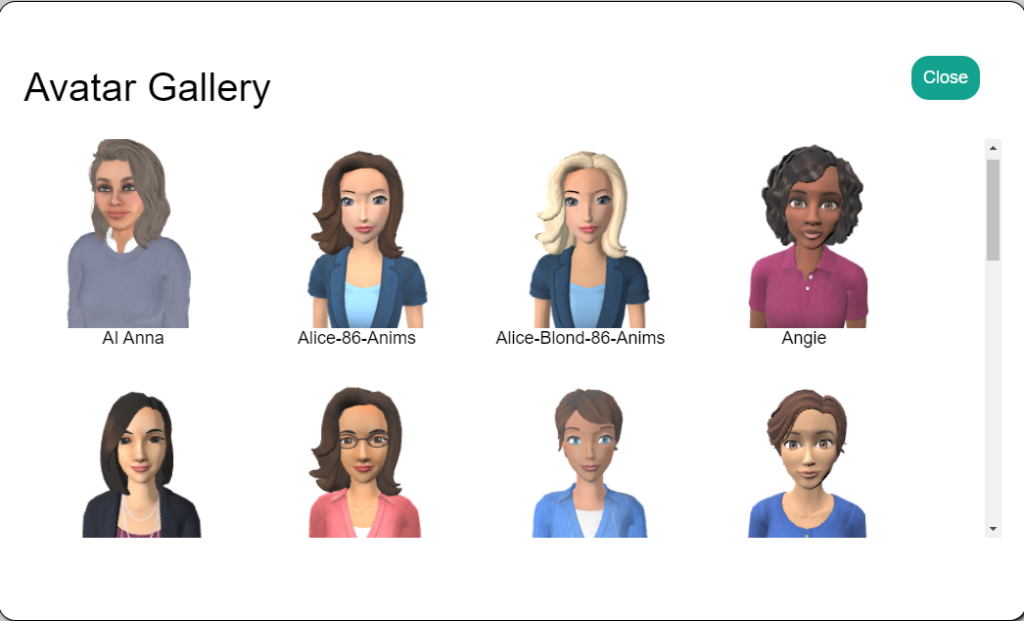
- Click the “Gallery” button to see images of the currently available avatars. If you need additional customizations to an avatar, contact help@codebaby.com.
- Select the desired model.
- Select Close.
Gallery #
Linked #
Linking an avatar allows multiple avatars to be displayed in the same window. To link an avatar, first create at least two avatars, then pick an avatar from the list below. Click the X to remove links. This option is only available for Super Admins.
Voice #
Select an Amazon Polly or Azure voice for your Avatar. Codebaby provides access to large library of male and female voices in English as well as many other languages.
- Specify the Voice Filters to filter the voice by accent, gender and provider.
- Select the Voice drop-down menu.
- Select the desired voice.
Voice Filters #
Voice Filters can be used to limited the number of options in the Voice drop-down list. Voices can be filtered by accent (ie, American/UK/Australian), gender or provider (Polly, Azure or Resemble).
Detect Language #
Select a language and the avatar will listen for that language when the microphone is being used. This value will usually be the same as the type of voice selected.
Enable Alternative Language Detection: #
If enabled, the system will automatically detect speech in up to three additional languages. This may slightly increase the likelihood of misinterpretation and decrease responsiveness.
Preview Voice #
Play Voice plays a sample of the currently select voice so that you can hear the sound qualities.
Voice Engine #
Some voices have a “neural” version, which is closer to human speech but cannot be as customized by SSML tags as standard voices. We recommend starting with neural voices when available. The display in this field changes between Standard or Neural, depending on the currently selected voice.
Azure voices with a neural version from ChatGPT #
Microsoft currently provides neural versions of Nuance Nina and Azure Speech Services’ neural voices, both US and UK English voices. This includes formant-synth hybrid neural voices, as well as deep neural text to speech (TTS) voices coming soon. Additionally, Microsoft plans to add more neural voices to its selection in the future. See additional information on Azure voices here.
Preview Your Avatar #
Preview Your Avatar creates a temporary HTML page with the current character so that you can test the current character settings.
Advanced Configuration #
This advanced configuration can be used to make very specific changes to your avatar and should only be used if you are advised to do so by a CodeBaby team member.
Dynamic Word Emphasis #
Occasionally Text to Speech does not pronounce specific words as intended. Dynamic Word Emphasis let’s you control how a word or abbreviation is pronounced. For example if “e.g.” is in the text you want it to be expressed as “example”.
- Specify the word or ‘*’ in the Word field.
- Enter and select the word in the Script field.
- Select an SSML tag or Emotion tag and select Insert.
- The tags are added to the word in the Script field.
Examples:
- e.g. – <sub alias=”example”>e.g.</sub>
- Porsche – <phoneme alphabet=”ipa” ph=”ˈpɔʁʃə”>Porsche</phoneme>
- Hermès – <phoneme alphabet=”ipa” ph=”ˈɛʁ.mɛs”>Porsche</phoneme>
An SSML tag can also be applied to the entire conversation by entering as asterisk “*” in the Word field. Alternatively if you want to apply an effect to the conversation specify it in the prompt.
Apply emotion to entire conversation – <mark name='{“emotion”:”excited”}’>*</mark>
Apply a slow speaking rate to the entire conversation – <prosody rate=”slow”>*</prosody>
Cameras and Loading Images #
The simplest method to edit the values for the camera angle is to go to Video Generator and alter the view in the avatar display area. Use the mouse scroll wheel to zoom in and out, the left mouse button to rotate the view and the right mouse button to pan. When the display is set to the desired view, go back to Character/Cameras and Loading Images and copy the alpha, beta, radius and target values from the videoGenerator section and paste into the section for fullbody or headShoulders and refresh the view.
Think of this camera as a satellite orbiting the earth. Its position relative to the target (“Earth”) can be set by three parameters: alpha (the longitudinal rotation, in radians), beta (the latitudinal rotation, in radians), and radius (the distance from the target). Adjusting these values changes the perspective from which the user views the avatar. You can adjust them by changing the values in these fields, or you can click and drag on the avatar below to adjust the alpha and beta values and scroll your mouse scroll wheel to adjust the radius to achieve the desired camera angle and distance you desire.
- Alpha – rotation about the Y-axis.
- Beta- rotation about the X-axis.
- Radius – the distance between the avatar and the camera.
- Target-The target is the focal point around which your camera rotates. 0, 0, 0 represents the center of the screen. You can change this point by adjusting these three values manually, or you can right-click and drag on the avatar below to adjust these values automatically.
Lights #
The Lights settings provide Position and Intensity values for three light sources.
Idle Animations #
Idle Animations let you define a sequence of animations that are used when the avatar is talking, or waiting and not speaking. You can enter the Codebaby markup language code for the gestures to be used in the idle animations. The weight values are all relative to each other, with the lower numbers indicating that the gesture should be used less, higher numbers playing the gestures more.
When you select Idle Animations a JSON editor displays. The animations are divided into groups, Not Talking, Talking, and various emotion lists like Excited or Frustrated.
For scripted conversations when using a tool like Dialogflow, gestures can be inserted directly into the response in the Response Generator using the Animation Tag option. When using an LLM, gestures instructions can be added to the prompt.
Lip Sync Mapping #
Lip Sync Mapping is used to control the mouth movement when the avatar is speaking. It works by defining the amount of movement for each blendshape (between 0-1) on an Avatar to create the correct mouth shape for each syllable of a word.
Here is an example of blendshapes and their values for the letter E.
“E”: {
“Smile”: 0,
“Open”: 0.22,
“Explosive”: 0,
“Dental_Lip”: 0,
“Tight_O”: 0,
“Tight”: 0,
“Wide”: 1,
“Affricate”: 0,
“Lip_Open”: 0,
“Blink”: 0
In this example “E” creates a sound like the e in ‘dress’ and to create that sound the avatar will create a mouth shape using a value of .22 on the “Open” blendshape and 1 on the “Wide” blendshape. By adjusting the value on each blendshape you can change what shape the mouth makes. For example, if the “Open” value is changed from .22 to a value of .5 the mouth will be open wider.
A table that shows what sound each Viseme character makes can be found here.
Grab Image #
Grab Image allows you to save an image of the current page.
Grab Again #
Grab Again recaptures the screen with an update gesture.
Save #
Save saves the file as a PNG directly to the download folder.
Use As Loading Image for Active Camera #
Assigns the recently grabbed image as the loading image.
Cancel #
Cancel cancels the Grab Image function and closes the dialog.
Upload Loading Image #
Upload Loading Image let’s you define a background image for the avatar. Once the image is defined, the file name is included in the Cameras and Loading Images dialog.
- Select Upload Loading Image.
- Select a Camera from the drop-down menu, Head/Shoulder, Fullbody, Videogenerator.
- Select Upload Loading Image and select a file (.jpg, .png, .gif).
Import Scene #
Scenes can be used to shared data between projects.
Import Scene imports the scene from a JSON file. The scene includes the model, voice selection, camera, lights, viseme and gesture maps.
Export Scene #
Export Scene exports the scene to a JSON file.


